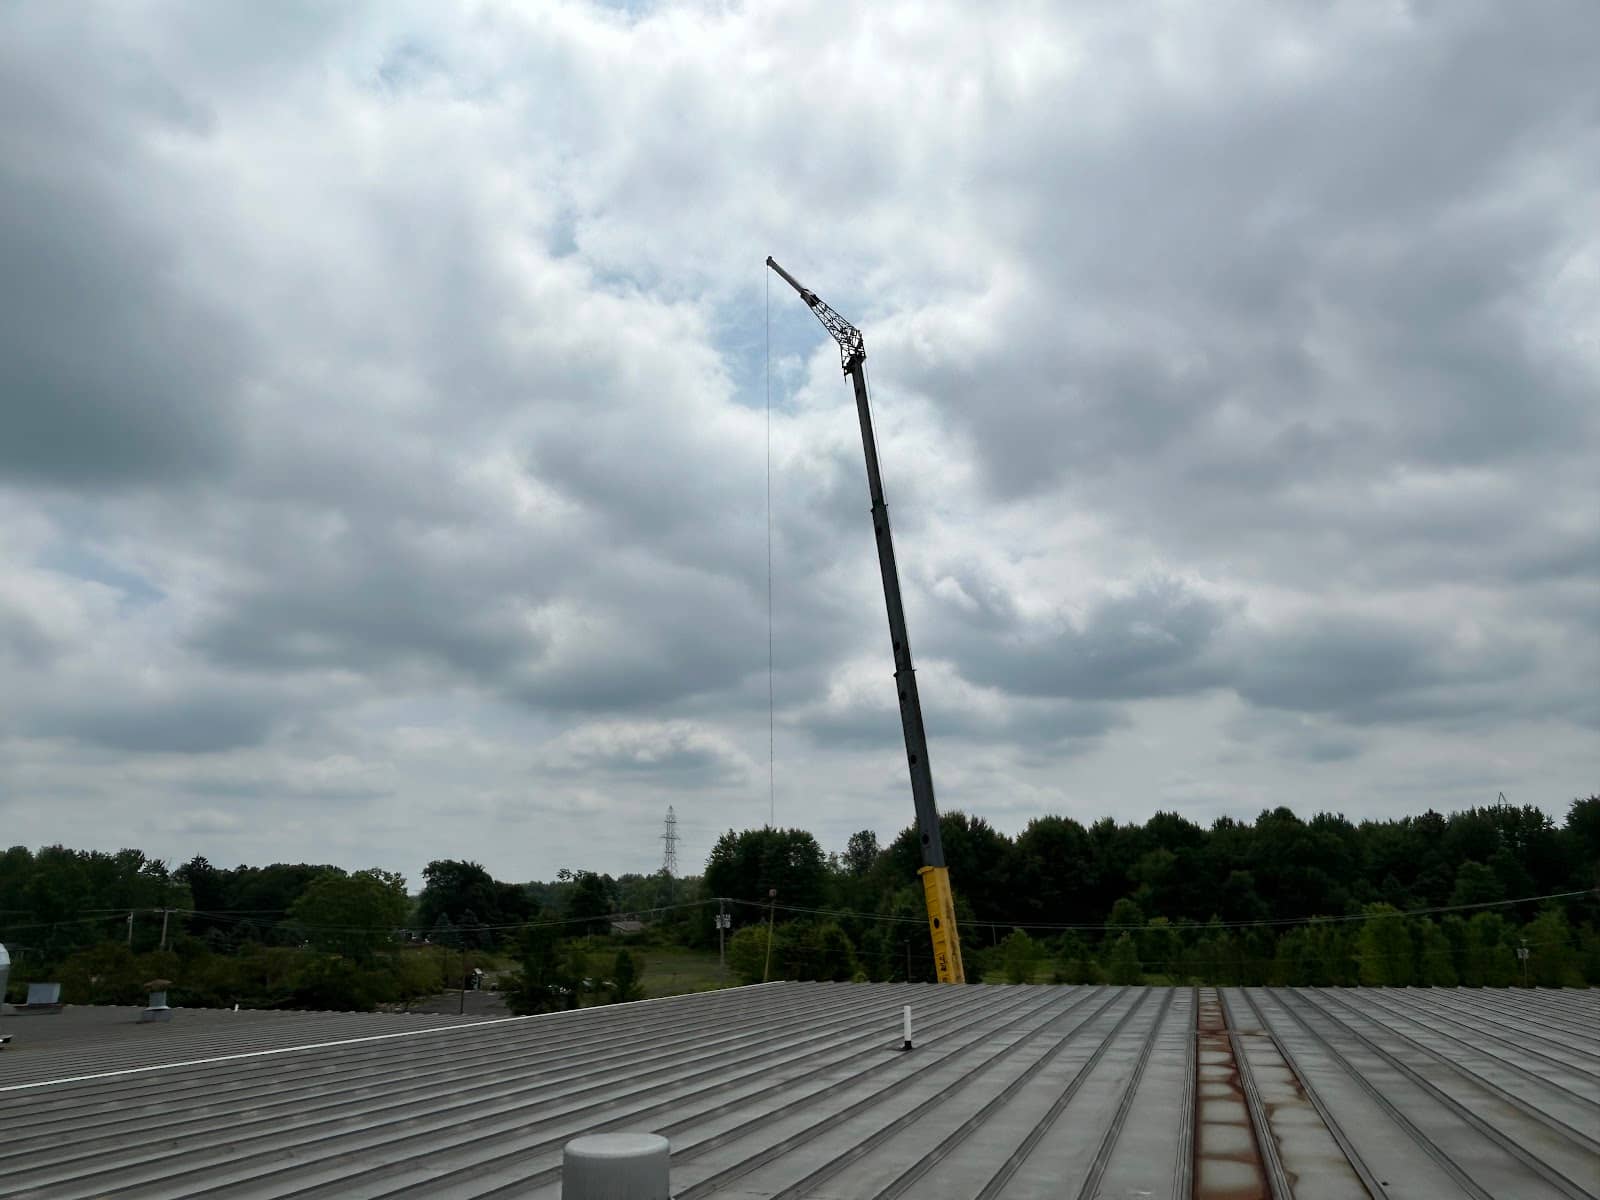
Why Are Load Charts Important for Crane Operations in Akron, OH?
Every crane has a defined lifting capacity, and that capacity is not a single fixed number. It changes based on the boom length, the horizontal distance between the crane's center and the load, the configuration of the machine, and whether it is operating on outriggers or on rubber. Load charts document those variables and the corresponding capacity limits so that the operator and the lift planner have accurate information before the pick begins.
A crane operating within its rated capacity is safe. A crane operating beyond it creates conditions where structural failure can happen with very little warning. Load charts exist to prevent that scenario, and on every job our team at Canal Crane and Hauling runs across Akron and Northeast Ohio, reviewing the load chart for the actual configuration in use is part of how we plan the lift.
What a Load Chart Is and What It Actually Tells You
A load chart is a document specific to a particular crane model and its configuration. It shows the crane's maximum lifting capacity at various boom lengths and load radii. Load radius is the horizontal distance from the crane's center of rotation to the center of the load. As that distance increases, the crane's safe lifting capacity decreases, often by a substantial amount over relatively short changes in radius.
Most load charts are organized as a grid. One axis represents boom length. The other represents load radius. At the intersection of those two values, the chart shows the maximum load the crane can handle in that setup. Load charts typically assume the crane is set up on outriggers in their rated configuration. Separate columns or separate charts are used for on-rubber operation, and the on-rubber capacities are significantly lower. Using the wrong column for the actual setup in use is one of the more common ways a lift plan ends up referencing an incorrect capacity figure.
How Load Charts Protect Your Equipment and Your People
The protective function of a load chart is straightforward: it tells the operator and the lift planner the boundary between a safe lift and one that exceeds what the machine can handle. Going over rated capacity puts stress on the crane's structural components including the boom, hoist mechanism, and outrigger pads. In worst-case scenarios, the result is boom structural failure or the crane tipping toward the load.
On a job site in Akron, either of those outcomes creates serious risk to workers, causes major damage to the equipment being lifted, and in many cases damages surrounding structures or infrastructure. Load charts are the reference that prevents that scenario by giving the operator a machine-specific, configuration-specific number to work against before anything leaves the ground. Our team reviews load chart data during the planning phase of every project, before the crane is ever dispatched to the site.
The Role of Load Charts in Pre-Job Planning
Load chart review is built into the load analysis process that our team conducts before every crane lift. When we assess a project, one of the first questions is what the crane will actually be picking. Once we know the weight, we cross-reference that against the load chart for the specific crane being used, accounting for the boom length and radius at which the pick will happen on that site.
If the load analysis shows that the planned configuration puts the pick near the crane's rated capacity, that changes the planning. It might mean repositioning the crane to reduce the radius, adjusting the boom configuration, or in some cases using a different piece of equipment entirely. The key is that we know that before the crane is on site, not after the operator has already positioned the machine and staged the rigging. Discovering a capacity issue at the moment of the lift is a problem the load analysis is designed to prevent.

What Radius and Boom Angle Do to Crane Lifting Capacity
One of the aspects of crane operations that surprises people who are not familiar with the mechanics is how significantly capacity changes as the load moves further from the crane. A machine that is rated for 40 tons at a 20-foot radius might only carry 12 or 15 tons at a 50-foot radius. The relationship between radius and capacity is not linear, and the drop can be steep over relatively small increases in distance.
Boom angle is directly tied to this. A steeper boom angle brings the load point closer to the crane's center, which increases lifting capacity. A flatter angle extends the load further from center, reducing it. On job sites in Akron and throughout Northeast Ohio where access is constrained and the crane cannot always get close to the pick point, understanding how radius affects capacity is not theoretical. It is a practical calculation that shapes every lift plan we develop, and it is one of the primary reasons load chart review cannot happen in the abstract without knowing exactly where the crane will sit on the specific site.
What Happens When Load Charts Are Skipped or Misread
Load chart errors do not always announce themselves immediately. A crane operating slightly over rated capacity may show no visible sign of stress during the lift, which is its own problem because it conditions the crew to treat that boundary as negotiable. When the real limit is eventually exceeded by a meaningful margin, the outcome can be sudden and severe.
The most common misread scenario involves the difference between on-outrigger and on-rubber capacity. A crane that is rated for a certain load on fully extended and set outriggers is rated for a substantially lower load on rubber tires. Using the outrigger capacity figure when the crane is actually operating on rubber is a calculation error that puts the machine beyond its actual safe limit. Other common errors include using an outdated chart after a configuration change, reading the wrong boom length column, or failing to account for a jib or extension that reduces the base capacity. Our team checks the actual configuration against the actual load chart every time, and that check happens during the planning phase rather than at the moment of the lift.
How Our Team Applies Load Chart Data on Every Lift
Load chart review is part of the standard pre-job process at Canal Crane and Hauling. During the load analysis phase of every project, our team confirms the weight of the load being picked, the radius at which the pick and set will happen, and the exact configuration the crane will be in at that site. Those three data points go to the load chart, and the chart confirms whether the planned lift is within rated capacity with an appropriate margin.
When site conditions do not allow the crane to position where the original plan assumed, we reassess. A shorter pick radius might be achievable with a different crane placement. A different boom configuration might expand the capacity at the required distance. Sometimes the answer is a different crane entirely. The load chart is the tool that drives those decisions. Across more than 100 crane engagements in Akron, Canton, Youngstown, Warren, Massillon, and the broader Northeast Ohio industrial corridor, our approach has been consistent: review the data, confirm the capacity, and then lift.